Now that we have our blog
layout,
colors,
dividers, and
gadgets set, let’s tie everything together with a background and a header.
For both the background and header we will need to choose some digital scrapbook images or any other type of images you want to use. Need some help finding images? Check
here.
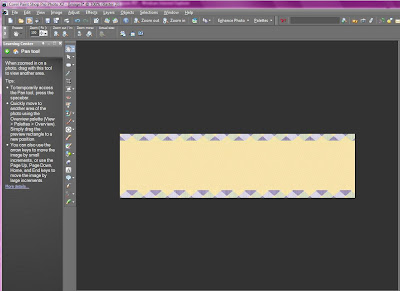
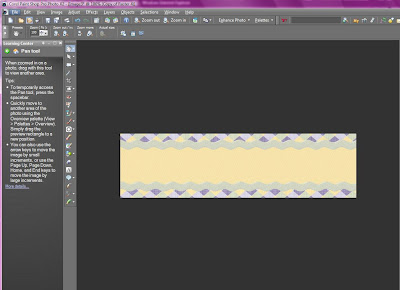
We first need to choose a background from your images or digital scrapbook kit. Once the image is chosen and downloaded to your desktop we need to upload it to a image hosting site. I use
Photobucket.
To upload your picture onto Photobucket find the section Upload Images and Video from My Computer. Click on the Choose Files box and find the images you want to upload on your desktop and click Select. This will upload the images to Photobucket.
Copy the image code, it is called Direct Link in Photobucket. Under Layout, Edit HTML, scroll down to:
body { background:$bgcolor;
Change the second line to:
background-image: url(ENTER IMAGE CODE);
You will delete “ENTER IMAGE CODE” and replace it with your background image code. It should look something like this:
background-image: url(http://photbucket.com/albums/ww26/missiezee/;
You can preview your background to see if you like it. If so, click Save Template.

Now that the background is set, let’s make our header. I am going to be using
Corel Paint Shop Pro X2. You can use any graphics program to make your header. I have heard that there is a free graphics program,
Gimp, that is pretty good. I have not used it, but if you give it a try let me know how it works.
First we need to open up a new file. Under File click, New. This opens up a New Image box. We now need to choose the size that we want our header to be. I’m going to make mine 700 (pxl) width and 190 (pxl) height. You can make yours as large or as small as you’d like. You might want to try out various sizes until you find the size you want.
This is how it should look:
Click OK. You should now see a white box on your screen. Go ahead and maximize the box by clicking the small square on the upper right hand corner of the box.
Okay, now you should see a white box in the center of your screen. I’m going to make a banner that is similar to the one on my blog. Once you get the hang of designing a header you can design any type of banner you would like.
We first need a background. Since I used the plaid background for the blog I think I’ll use the same background for the header. This background won’t be seen much, like the green striped bars in my header, so it won’t be too overwhelming.
Open up the background picture. Right click on your mouse and Copy the picture. Go back to the Paint Shop Pro box. Right click on the box and Paste as a New Layer. Now my plaid on the picture came in really big.
I don’t want it this big so I’m going to click on the arrow tool and drag my picture until it shrinks to the size I want. Don’t forget to shrink the top, the bottom, and both the sides.
Next we need a lighter color background. I’ve chosen a plain yellow one. Follow the same steps as the previous background but shrink it a little smaller. We want it to be layered on top of the other background.
Now let’s add some ribbon. I think I’ll use green ric rac. Open up your image. Click Copy and Paste a New Layer. We’ll need to resize this too just like the backgrounds.
We need two of strands of ric rac, so the easiest way to do that is to duplicate it. Duplicating a picture means it is an exact replica of the picture, without having to drag or resize the picture. Just rick click on the image you want to duplicate and click Duplicate. It will add a second image on top of the previous image. Take the arrow tool and drag down to move the duplicated picture.
Now I’m going to add my little girl. I’ll do it the same way I added the other images.
I had a little fun with her and rotated the picture a little to the left. You can rotate your pictures by taking your arrow tool and clicking on the line that is inside your picture. When two half circle arrows appear, click and turn your picture to the left and right.
Now let’s add some text. Underneath the arrow tool on the side toolbar is a white box with an A in it. Click on that box and it will show a cross with an A. Click on the spot where you want your text to be on your header and it will open up your text box. Type in your text.
There are several things wrong with my text. First the color. To change the color, highlight the text in your box. On the upper right hand side under materials you will see the color box. Click on the color you want your text to be. Next, on the upper left hand side you will see the font & size. Click the font and size you want your text to be, and then Apply. I used Freehand591 BT for my font. Here is how it looks so far:
One last step is to get the text above the ric rac. On the lower right you will see several different checkered boxes. Those are your layers. Each one of our backgrounds, ric rac, text, etc. is a layer. In order for our text to be above the ric rac we need to make sure the text layer is above the ric rac layer. Locate your text layer and your ric rac layers (we have two because we duplicated them). Drag your text layer so it is on top of both your ric rac layers.
That’s it. Your header is complete!
Now we need to save a copy of our header so we can upload it to our blog. If you think you will want to tweak your header in the future, save your header as a PSP Image first. You can do this by choosing the PSP Image from the Save As drop down menu under file name. After you save as a PSP Image, save again as a JPG JPEG image for uploading to Blogger.
Go back to Blogger. Find Layout, Page Elements. In the center of the screen find Header. Click on Edit. Choose Image from Your Computer, Browse. Find the JPEG file you saved on your desktop and upload your header. Make sure to choose under Placement, Instead of Title and Description. Click Save.
Ta Da! Now your blog is looking good 🙂 One thing , the header isn’t exactly centered. This is where you might need to go back to your blog dimensions and tweak them a little to make your blog centered just right.
Did you follow along and make your own header? If so, leave me a comment with a link to your brand spanking new header. I’d love to see it.
Next week, in our final lesson, we’ll add a few navigation buttons to the top of our blog. Enjoy your new header and see you next week!


 That’s it. Your header is complete!